Designing Borders for Stationery Printing

Created by Caitlin Greene, Modified on Wed, 17 Jun at 9:49 AM by Caitlin Greene


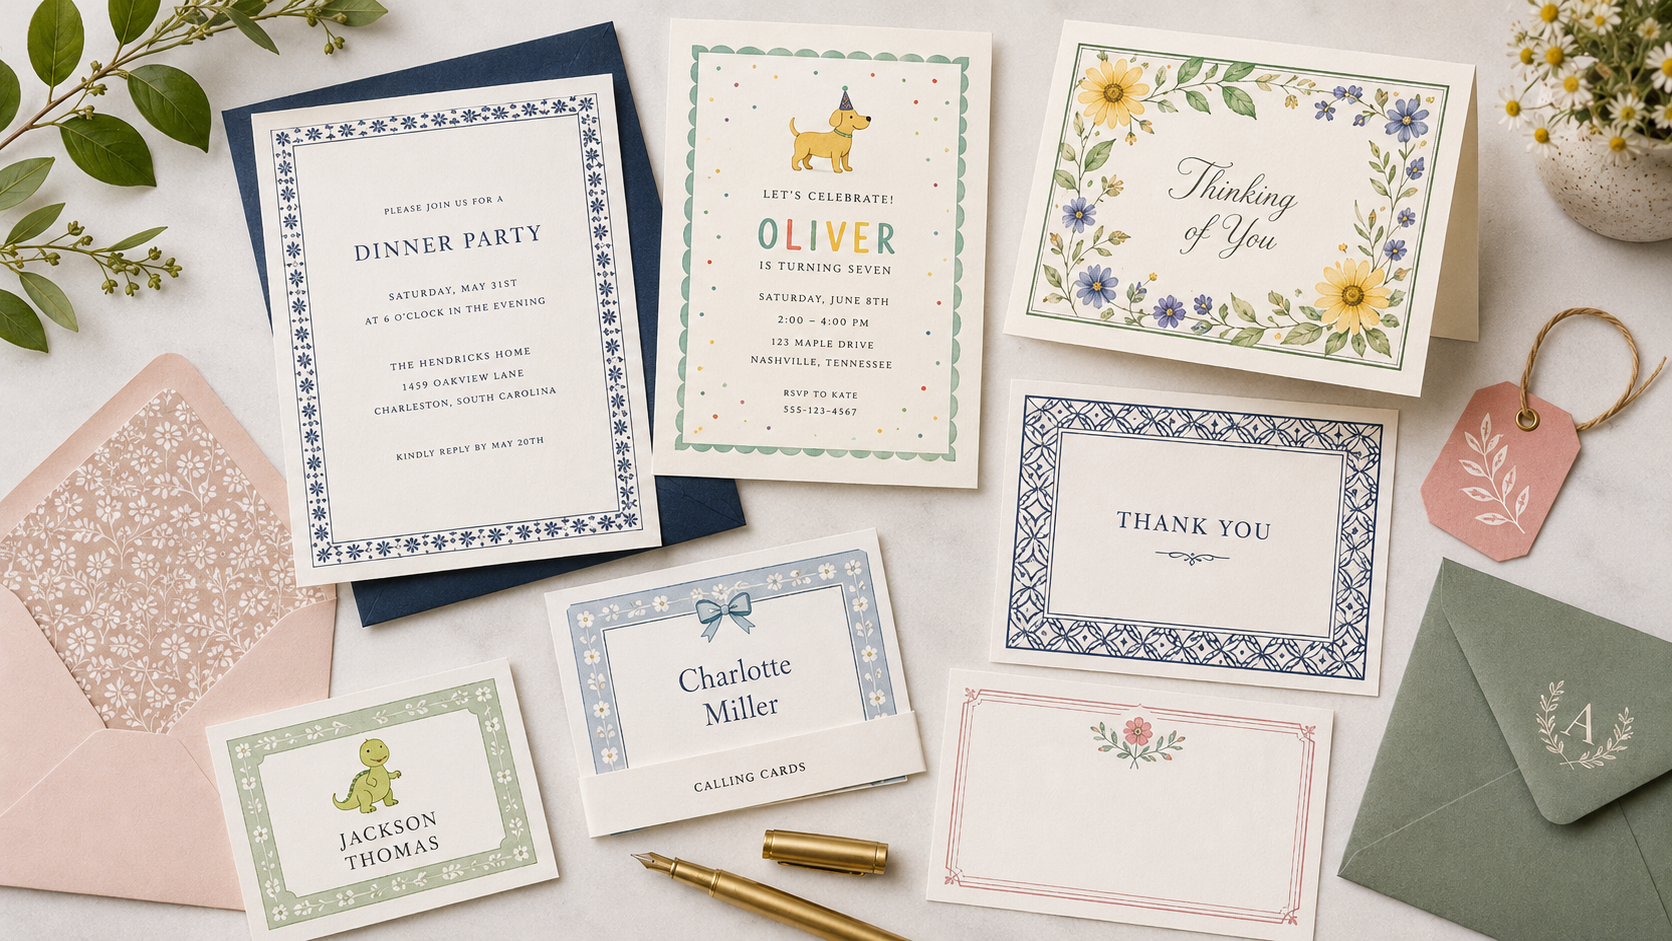
Borders can create a polished, professional look, but they also require thoughtful design choices to print cleanly and consistently. Because slight movement, or shifting, can occur during the printing and trimming process, border designs are generally more sensitive to production variation than most other layouts. 


Thin borders are especially prone to appearing uneven, as even minor shifting can become noticeable in the finished product. Designing borders with adequate thickness and spacing helps accommodate normal production shifts and creates a more balanced, intentional final result.


Best Practices for Border Design


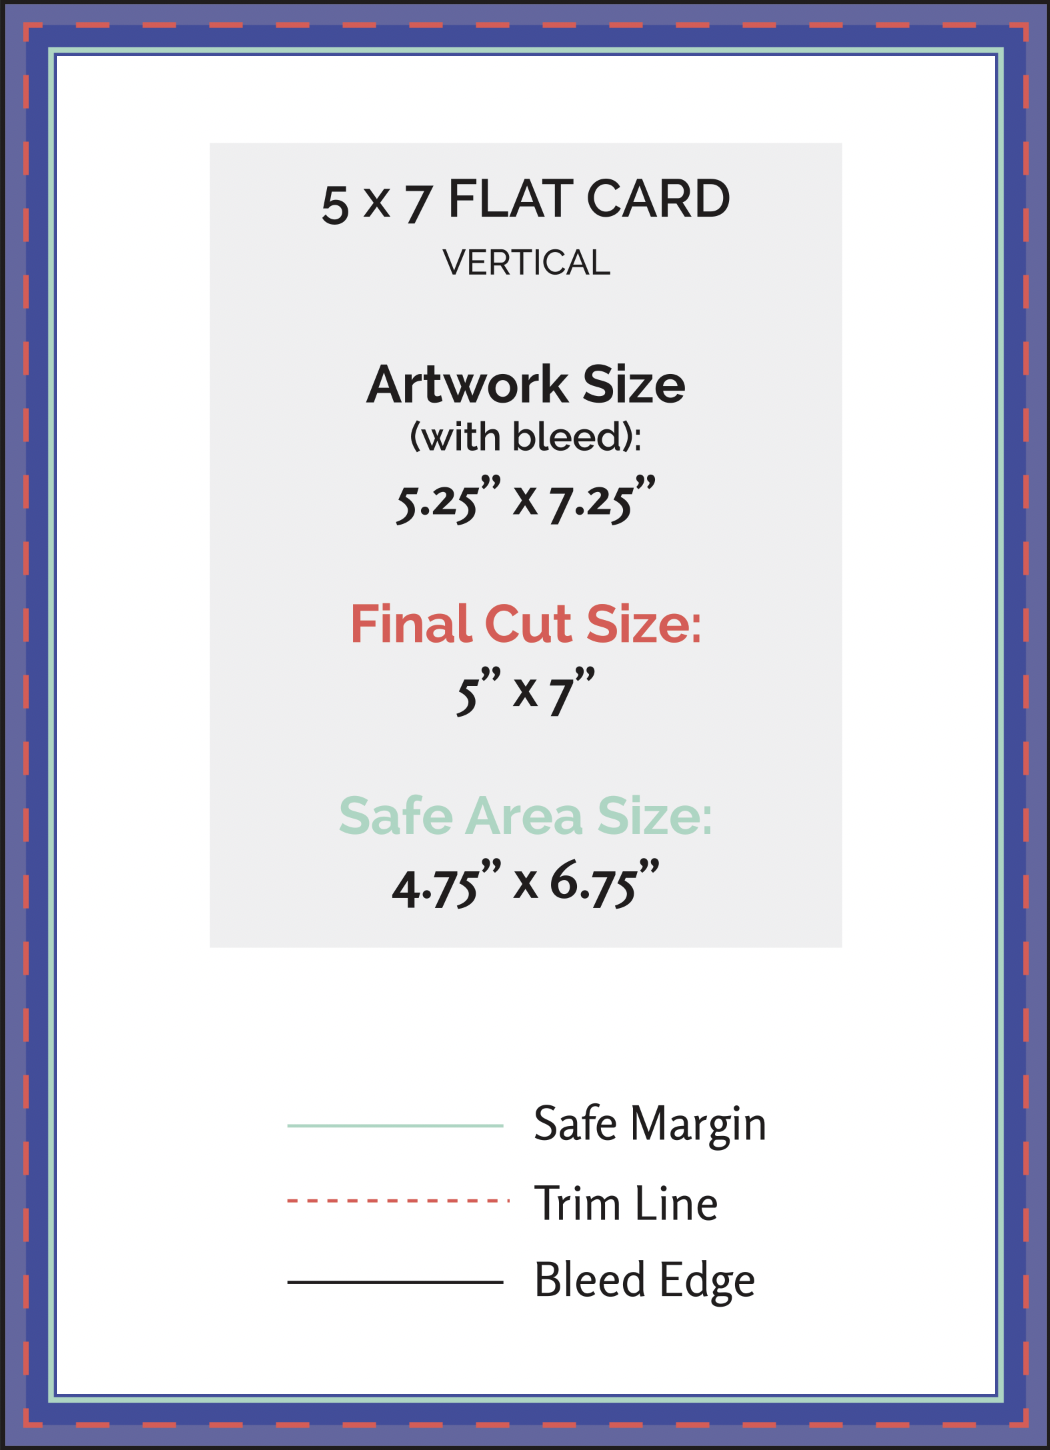
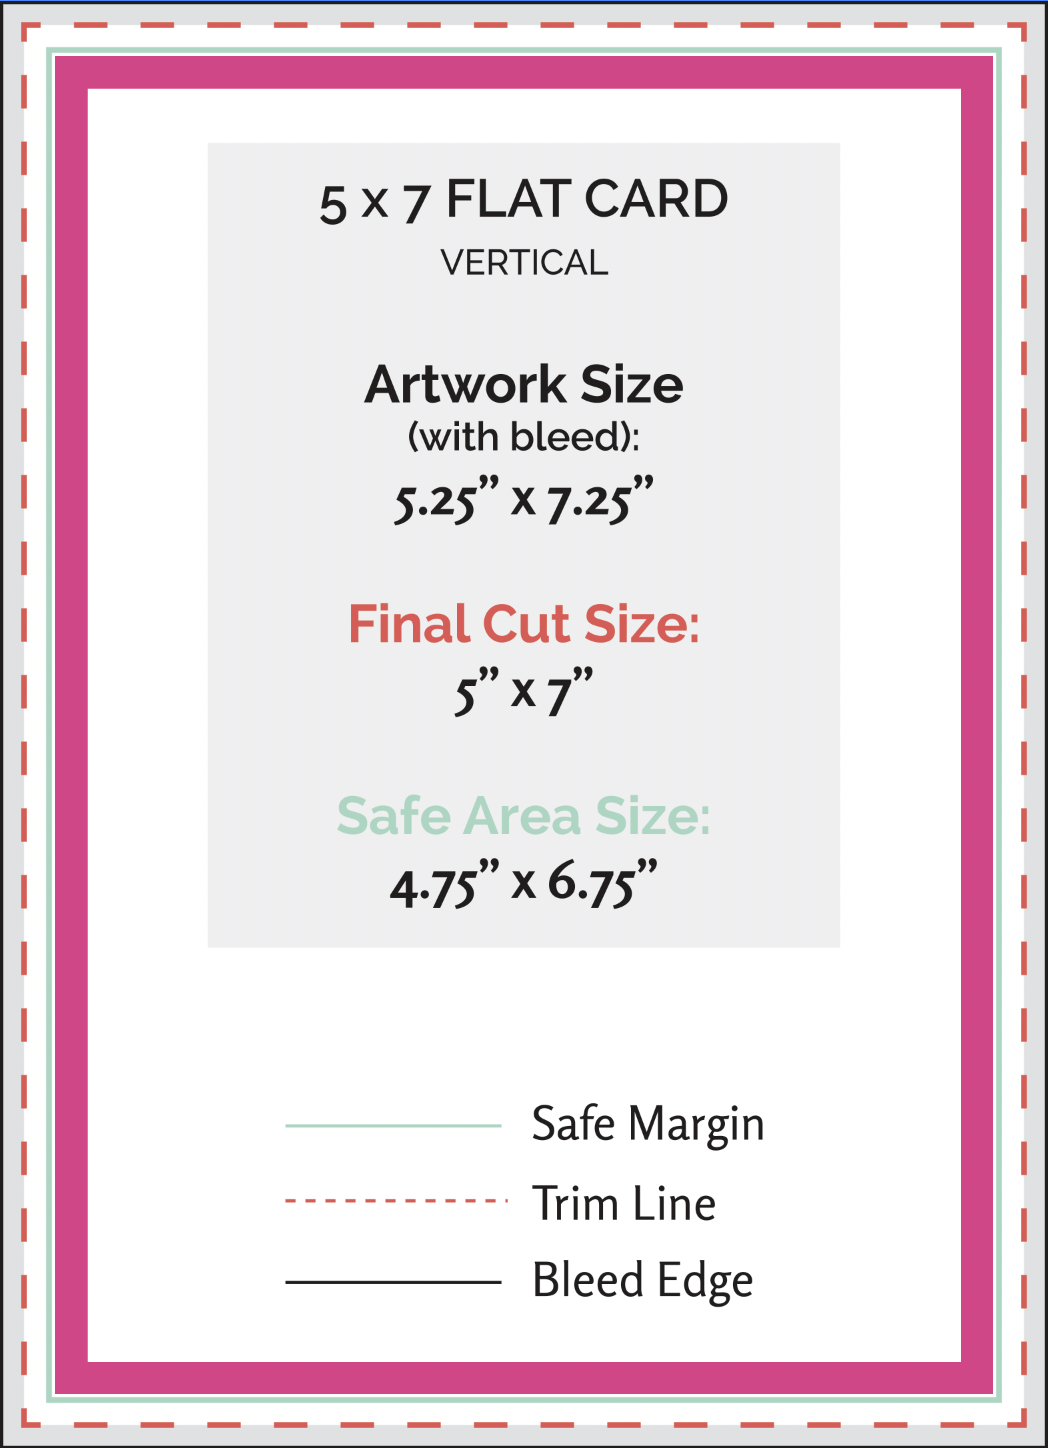
When designing with borders, thicker borders are recommended over thinner ones for the most consistent print results. We strongly encourage using our templates as a guide to ensure borders are designed with appropriate spacing and thickness.


Borders should extend from the bleed edge inward to at least 0.0625 inches into the safe area on the template.


For inner borders, place them at least 0.0625 inches inside the green safe area for the best results. 


Front and Back Borders


We strongly discourage using borders on both the front and back of any product. Because slight shifting can occur during production, front-to-back alignment cannot be guaranteed with enough precision for this type of design to print consistently. Thin borders and front/back border layouts are especially risky on double-thick products, where the additional production step allows for further shifting.


Smaller Products


When designing smaller items such as place cards, small enclosure cards, tags, and other small formats, extra care should be taken with border placement. Because the overall size of the product is smaller, even minor production movement can become more noticeable in the finished product.


Specialty Shapes


Borders designed to follow specialty shapes can be difficult to align perfectly during production. This is especially true for more detailed shapes, like our die-cut options, where even slight shifting may become more noticeable. For additional guidance on creating borders for die-cut cards, check out our Print File Setup for Die Cut Shapes article. 


Final Thoughts


While borders can be more sensitive to normal production variation, thoughtful design choices can greatly improve the overall finished result. Using thicker borders, allowing adequate spacing, and designing with production shifting in mind will help create layouts that print more cleanly and consistently. When in doubt, we recommend keeping border designs simple, flexible, and always use our templates for the most reliable outcome. 


Related Articles:


Was this article helpful?

That’s Great!

Thank you for your feedback

Sorry! We couldn't be helpful

Thank you for your feedback

Let us know how can we improve this article!

Select at least one of the reasons
CAPTCHA verification is required.

Feedback sent

We appreciate your effort and will try to fix the article

Still need a hand?

Talk to our team

205-588-4171
Mon–Fri:
8:30am–4:30pm CT