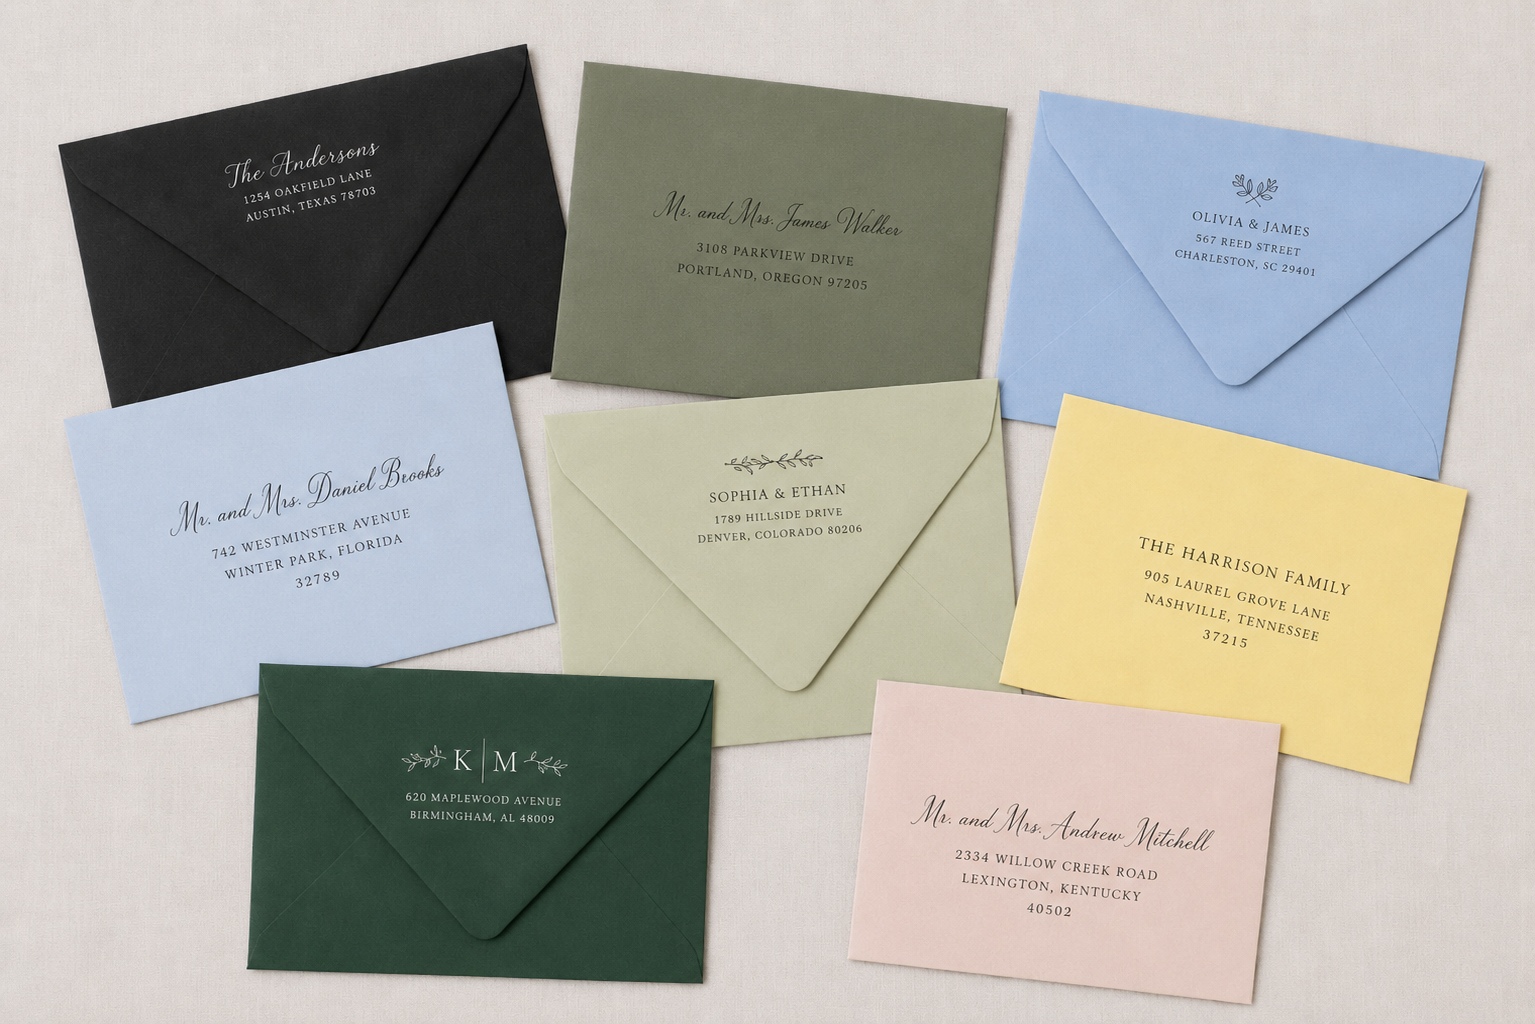
Designing custom envelopes is one of the details that can truly elevate a stationery suite. Whether you’re creating an envelope flap design with return address, front envelope designs with guest addresses, or a combination of both, setting up your files correctly helps ensure the final product prints cleanly, clearly, and exactly as intended.
Here’s everything you need to know before submitting your envelope print files.
Start with the Correct Template
Envelope dimensions, flap shapes, and printable areas can vary by size and paper stock. You can view our envelope guide here. Before designing, download the template for your specific envelope to ensure artwork and text are positioned correctly.
Templates help you properly position artwork, text, return addresses, and design elements while keeping everything inside the printable area.
You can download the appropriate template before starting your design to ensure your file is set up correctly from the beginning.
Envelope Files Should Not Include Bleed
Unlike flat printed pieces such as cards or brochures, envelope print files should not include bleed.
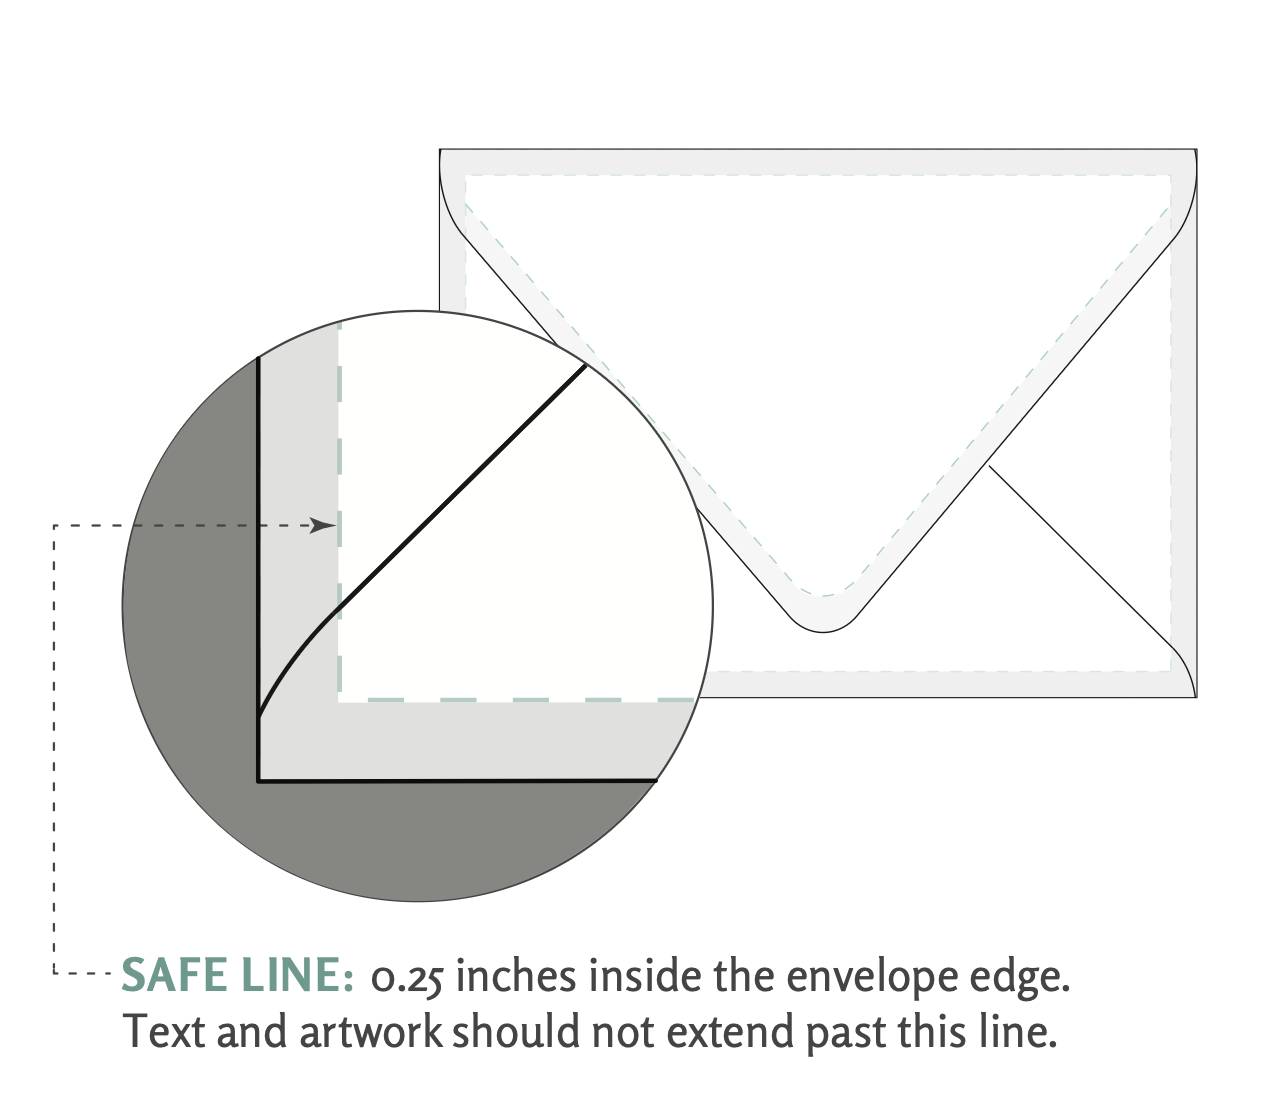
Envelope template has a built-in non-printable margin around the outer edge of the envelope. This means ink cannot print fully to the edge.
Trying to extend artwork beyond this printable area can result in clipping or unexpected results, so it’s best to design with this margin in mind from the start.
Understand the Non-Printable Area
All envelopes include a non-printable area along the outside edge. This margin exists because of how envelopes move through production equipment during printing.
When designing:
- Keep all important text and artwork safely inside the printable area or safe line
- Artwork extending beyond the printable area may result in the artwork being clipped or unexpected results
- Avoid placing artwork along the seams of the envelope as it increases the risks of ink transference
This small margin helps ensure your artwork prints consistently and cleanly.
Avoid Printing in the Tip of a Pointed Flap
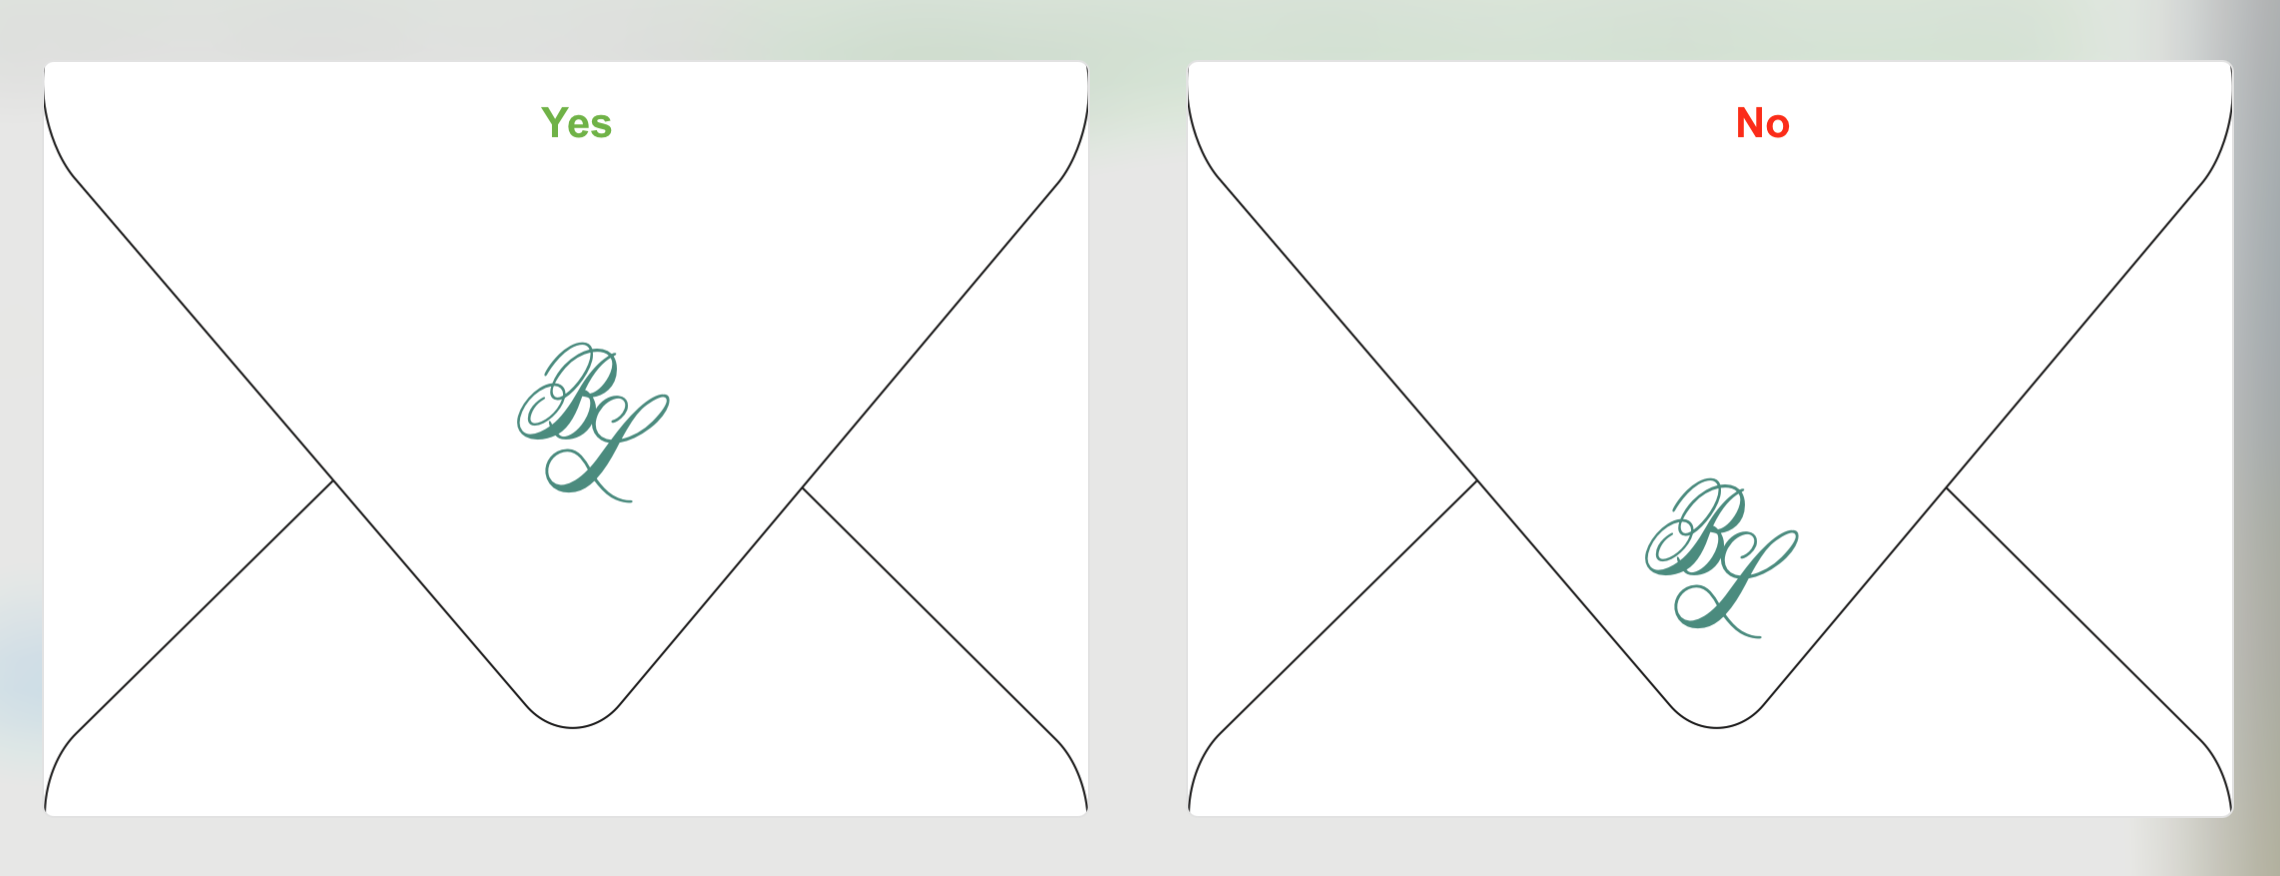
For euro flap envelopes specifically, we do not recommend placing text or artwork directly in the pointed tip area of the flap.
Because of the shape and fold of the envelope, printing in this section can appear distorted or inconsistent. Keeping artwork slightly elevated above the point typically produces the cleanest and most polished result.
Do Not Try to Color Match Cards Exactly
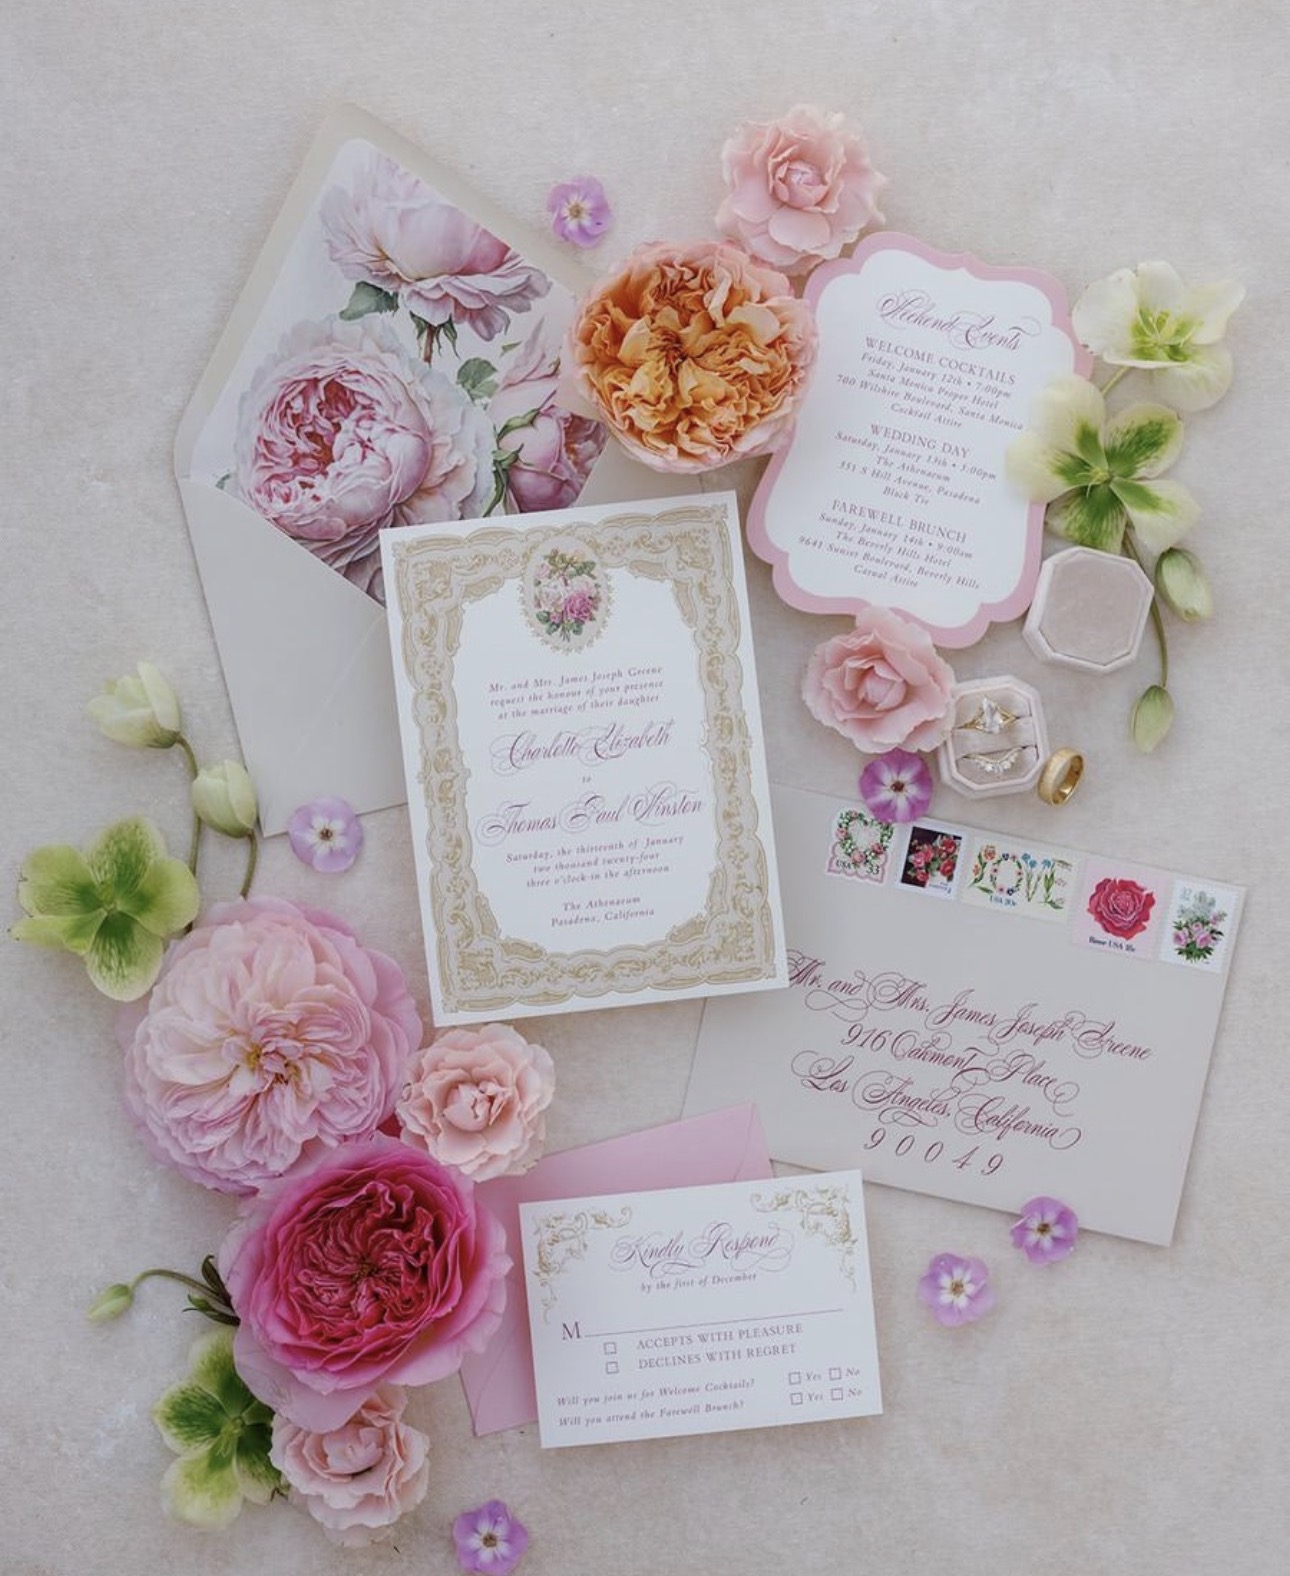
While envelopes and cards may be printed from the same artwork, they are produced on different papers on different printers than the cards. Because of this, exact color matching between cards and envelopes is not a service that PrintsWell offers.
Paper color, texture, coating, and print method can all affect how ink appears on the final product.
Instead of aiming for a perfect match, focus on creating a coordinated look across your suite.
Flatten and Outline All Artwork
To ensure your files print as intended, we recommend one of the following:
- Flatten artwork and transparency effects
- Outline text
- Export as a PDF/X-1a file, which automatically embeds fonts
This helps prevent missing fonts, transparency issues, or unexpected artwork shifts during production.
For the most reliable print results, always export a high-quality print-ready PDF after finalizing your file.
Thin Script Fonts Need a Little Extra Support
Delicate serif fonts and ultra-thin lettering can sometimes print inconsistently if the strokes are too fine.
For best results, we recommend using a minimum:
- 0.25pt stroke thickness on fonts that contain thin serifs or delicate details
This helps maintain clarity and readability in print, especially on smaller font sizes.
Expanding Your Envelope Design Options
Looking to customize your envelopes even further? There are several ways to create a polished, cohesive mailing experience.
Guest Addressing
Guest addressing allows recipient names and mailing addresses to print directly onto your envelopes for a clean, professional appearance. You can learn more in our guest addressing article.
Envelope Options
Different envelope styles, flap shapes, paper colors, and finishes can completely change the feel of your stationery suite.
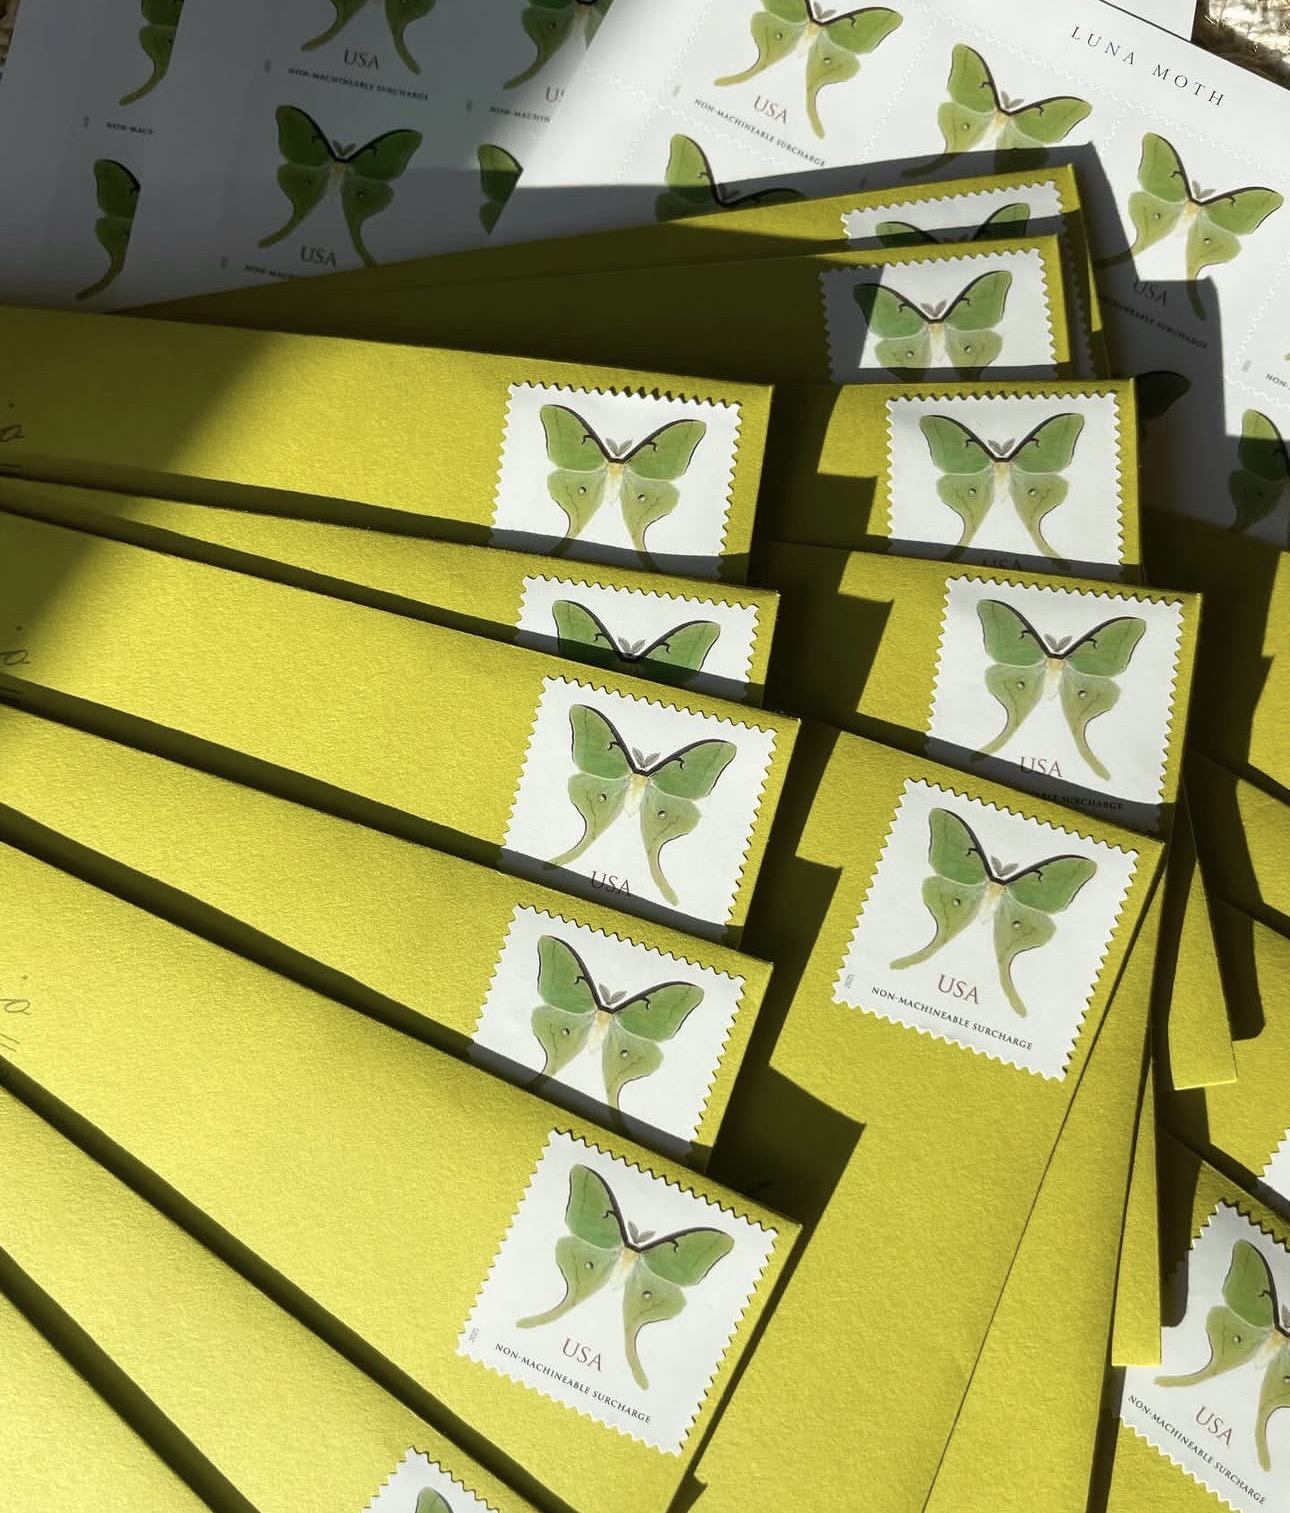
Explore available envelope options to find the best fit for your project.
White Ink Imprinting
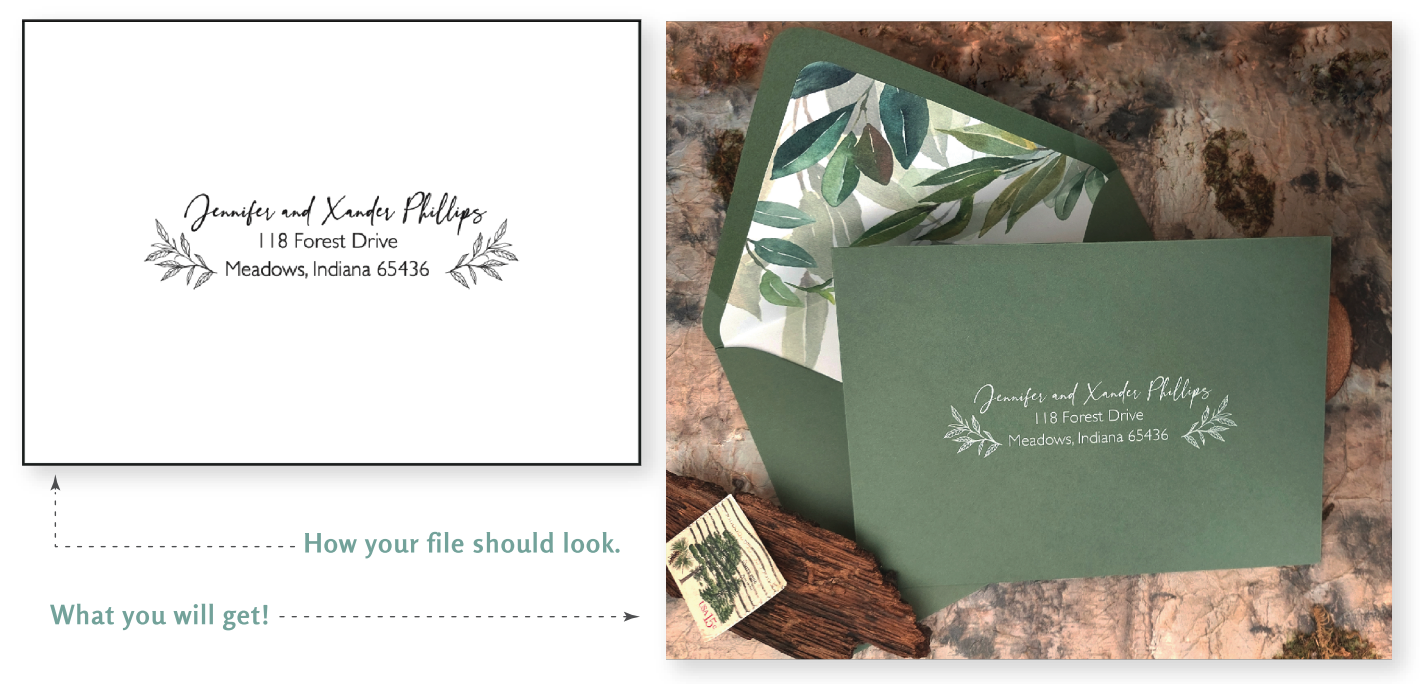
Printing white ink on darker envelope stocks creates a striking, elevated look that works beautifully for weddings, events, and luxury stationery. For white ink imprinting files, your print elements should be in 100% black (CMYK color build: 0,0,0,100) or it will not print properly.
Related Articles:
- Ordering Envelope Imprinting
- Creating Print Files for Guest Addressed Envelopes
- What Types of Envelopes Does PrintsWell offer?
Was this article helpful?
That’s Great!
Thank you for your feedback
Sorry! We couldn't be helpful
Thank you for your feedback
Feedback sent
We appreciate your effort and will try to fix the article