 File Size Set your file dimensions to match the final size of your printed product. |  PDF Format Save your file as a PDF, preferably PDF/X-1a, for the most reliable print results. |  CMYK Color Convert all colors to CMYK for the most accurate screen-to-print color. |
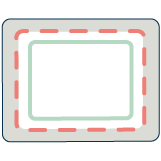 Templates Templates Use our templates to set up your file and visualize trim, bleed, and safe area. | 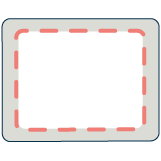 Bleed BleedExtend any artwork that touches the edge past the trim line to the bleed edge. | 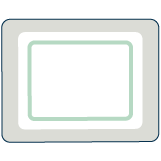 Safe Area Safe Area Keep important text and artwork inside the safe area to avoid unintended trimming. |
 No Printer Marks Do not include crop marks or printer marks. We apply these during production. |  High-Resolution Images Use images and artwork at 300 PPI or higher for a sharp, clear print. |  Outline Fonts Outline or flatten all text to prevent font issues during printing. |
 Flatten Transparency Flatten transparency before saving to prevent unexpected color shifts. | 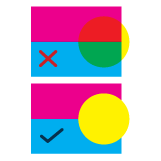 Remove Overprint Remove any overprint settings to ensure your artwork prints correctly. |  Ink Limit Keep total ink coverage at 240% or less to prevent ink transference. |
5 Essentials for Print-Ready Files
1. Size Your File to Your Final Product
Set your file size to the final product size with a 0.125" bleed on all sides (0.25" added to width and height).
2. Design with Bleed and Safe Area in Mind
Extend artwork to the bleed edge when printing to the trim line and keep all important content within the safe area.
3. Export a Print-Ready PDF
Save your file as a PDF, preferably PDF/X-1a, with images and fonts embedded.
4. Use CMYK and High-Resolution Images
Convert colors to CMYK and use images at 300 PPI or higher for accurate, sharp printing.
5. Review Your File Before Uploading
Check your exported PDF to confirm size, bleed, and color appear as expected.
Was this article helpful?
That’s Great!
Thank you for your feedback
Sorry! We couldn't be helpful
Thank you for your feedback
Feedback sent
We appreciate your effort and will try to fix the article